By Country/Region
Coverage of global mainstream destinations, easy to choose
Loading...
1
Select the QR code TAB at the top
2
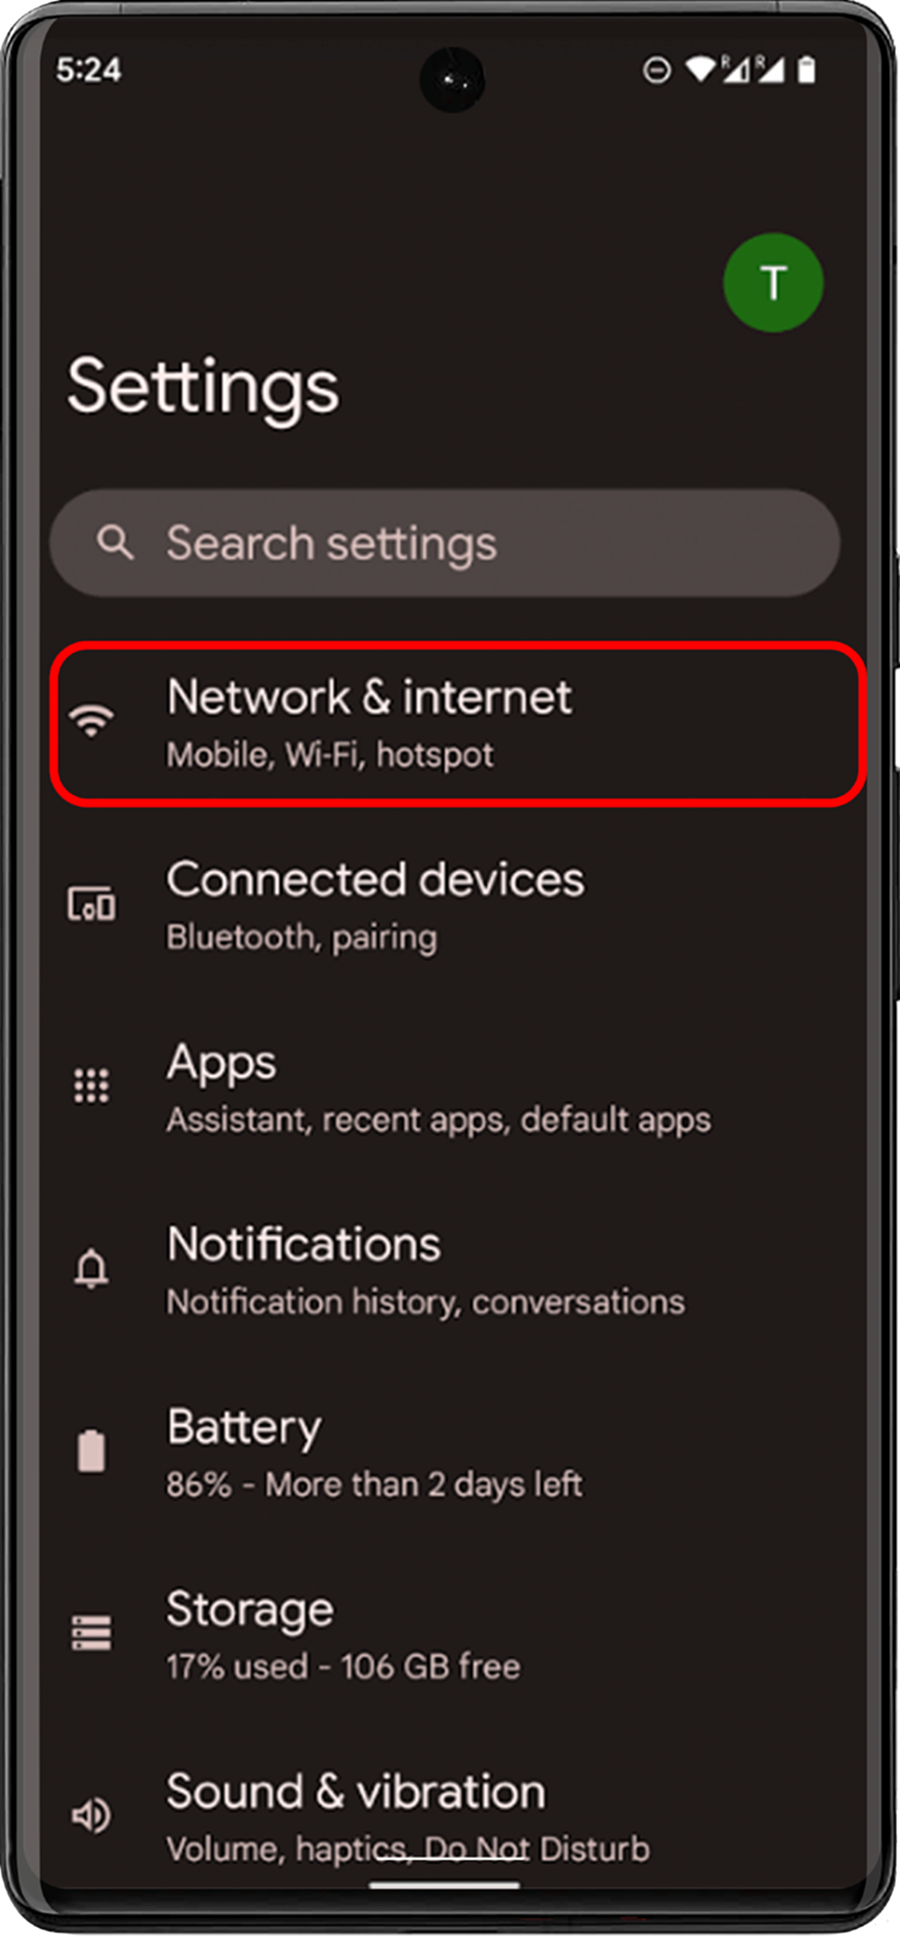
Go to Settings on your device
3
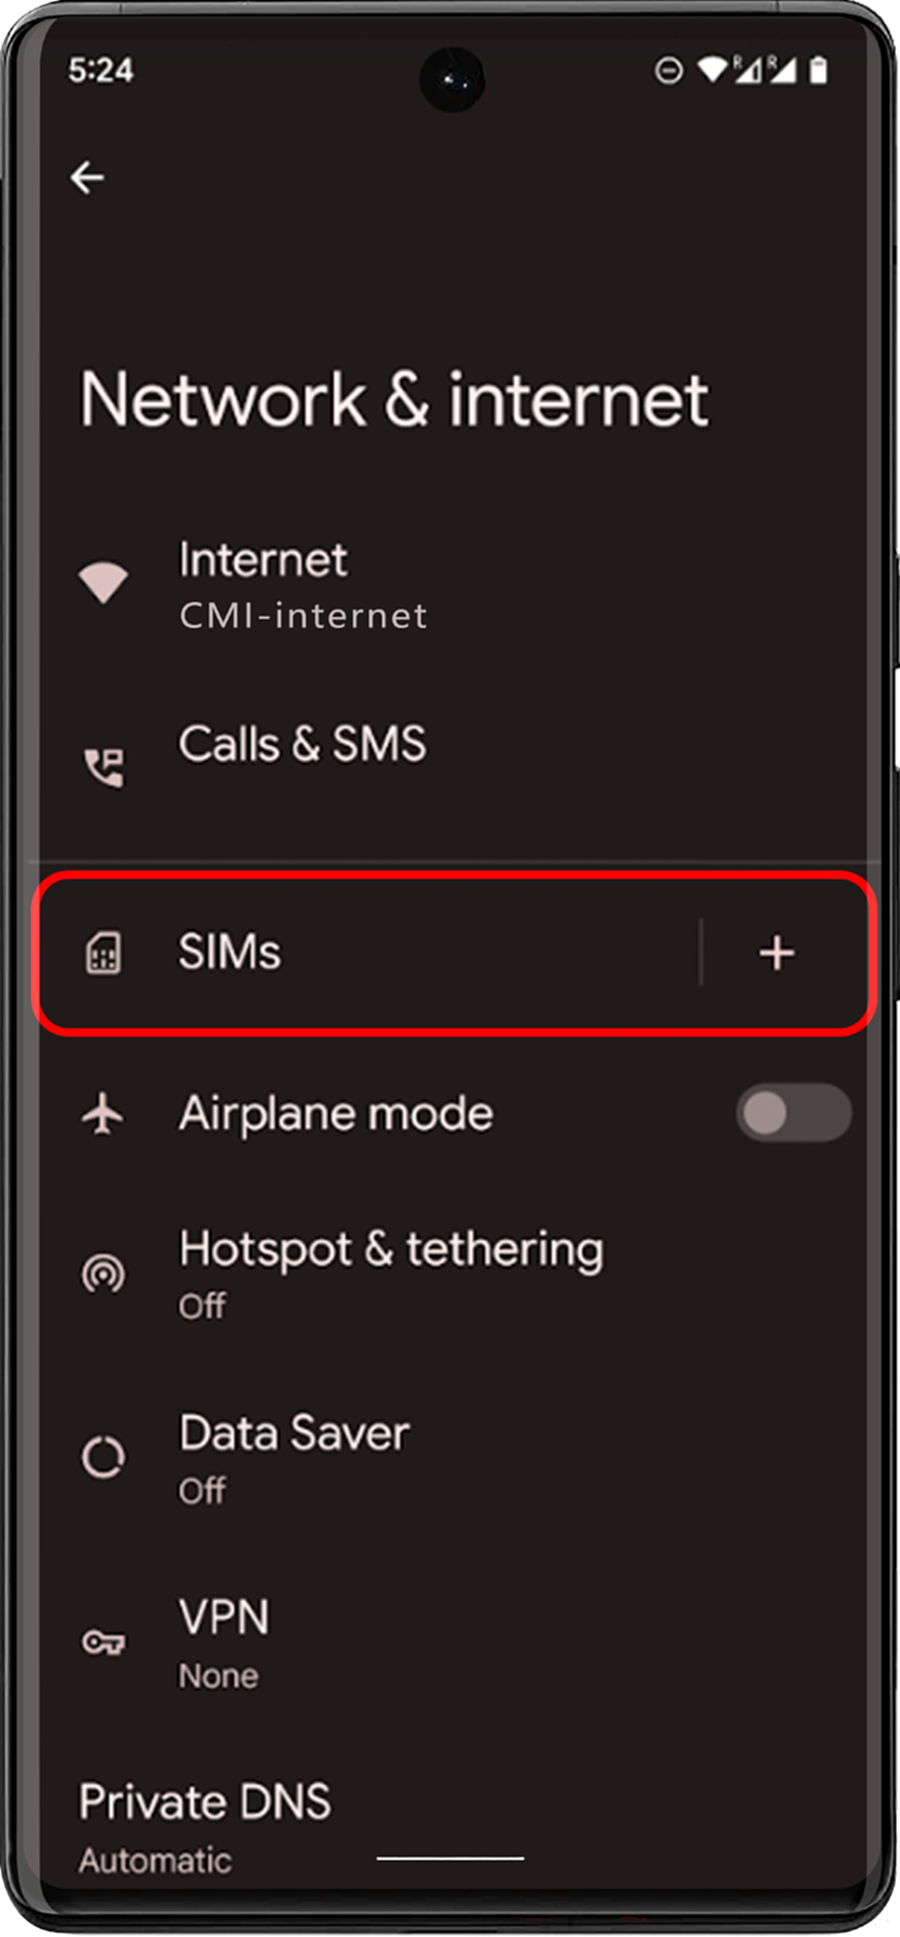
Click Network and Internet
4
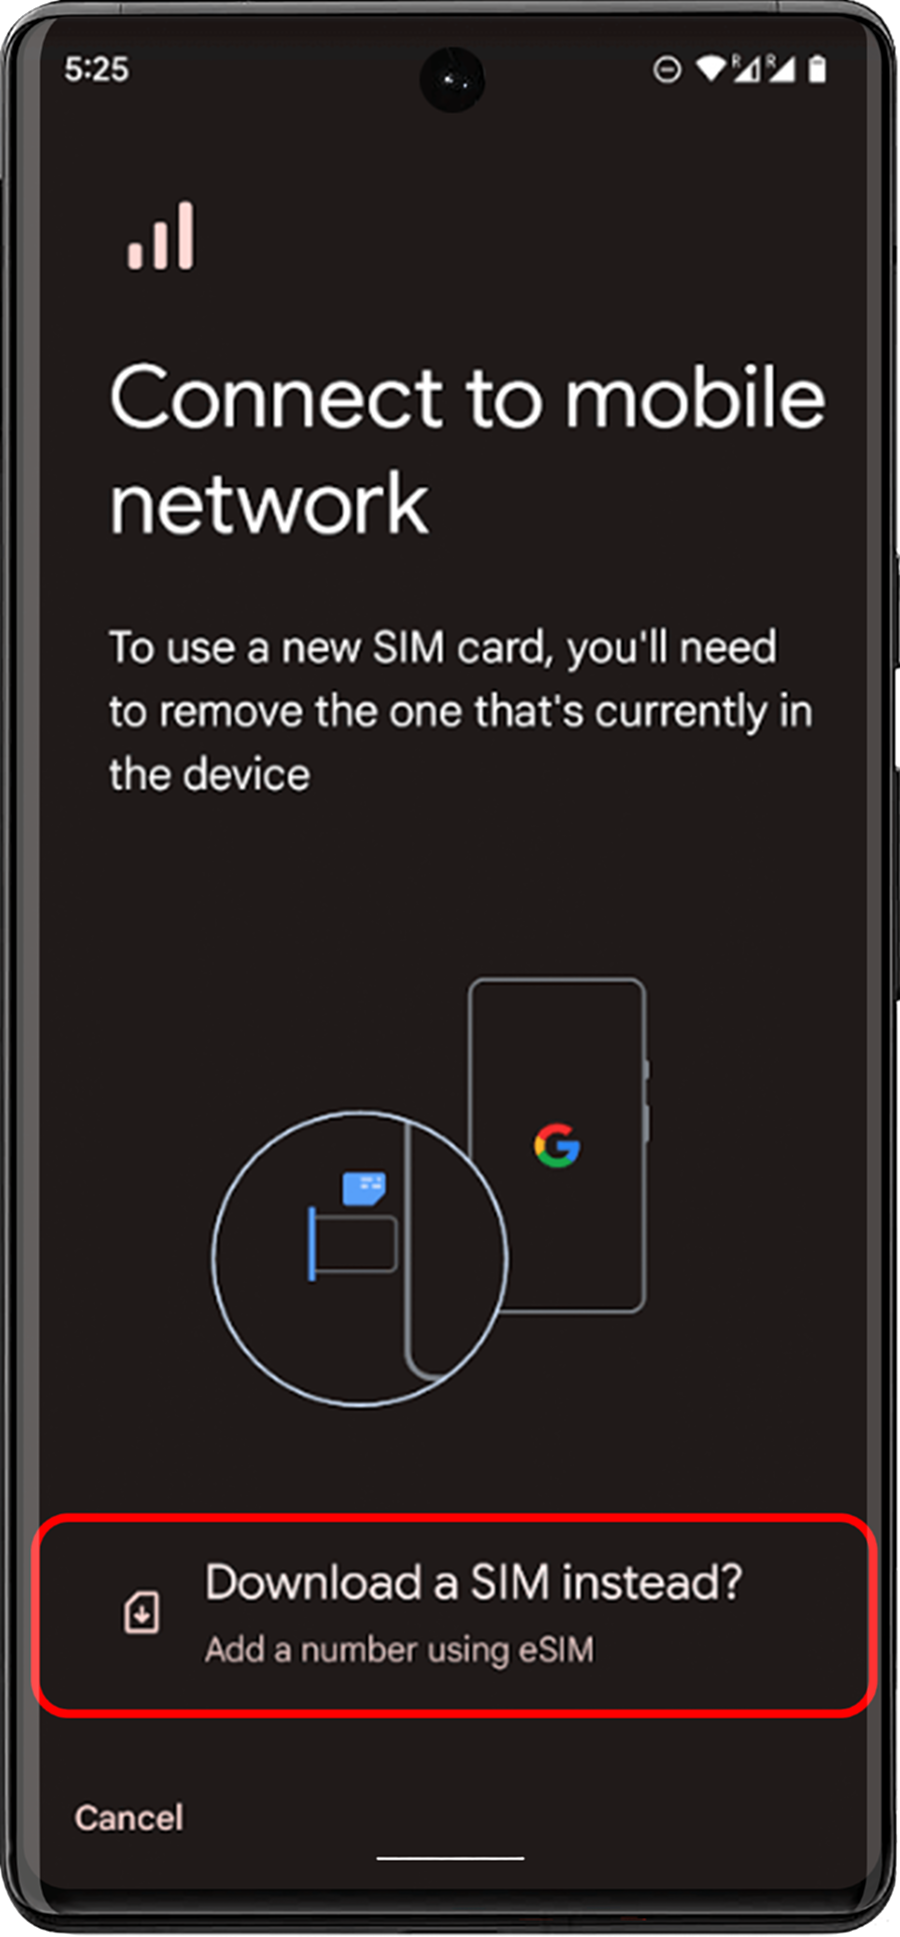
Click the Add or + icon next to Mobile networks
5
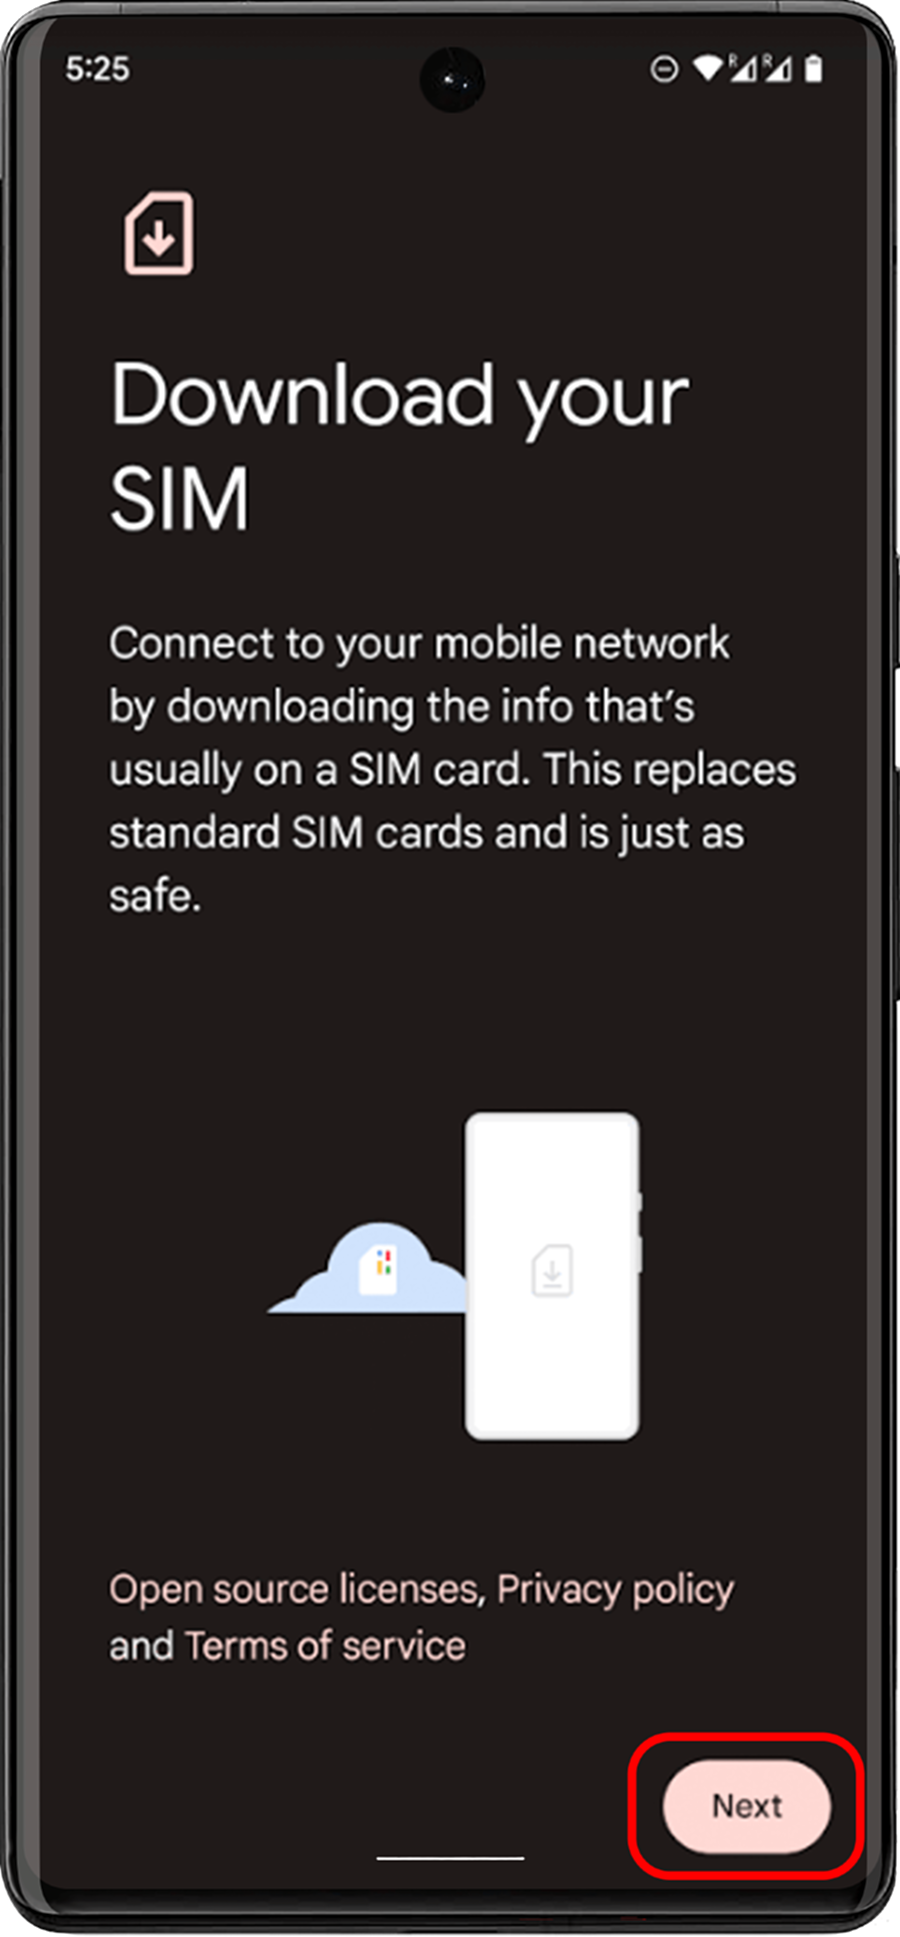
When the system asks 'No SIM card?',Click Next
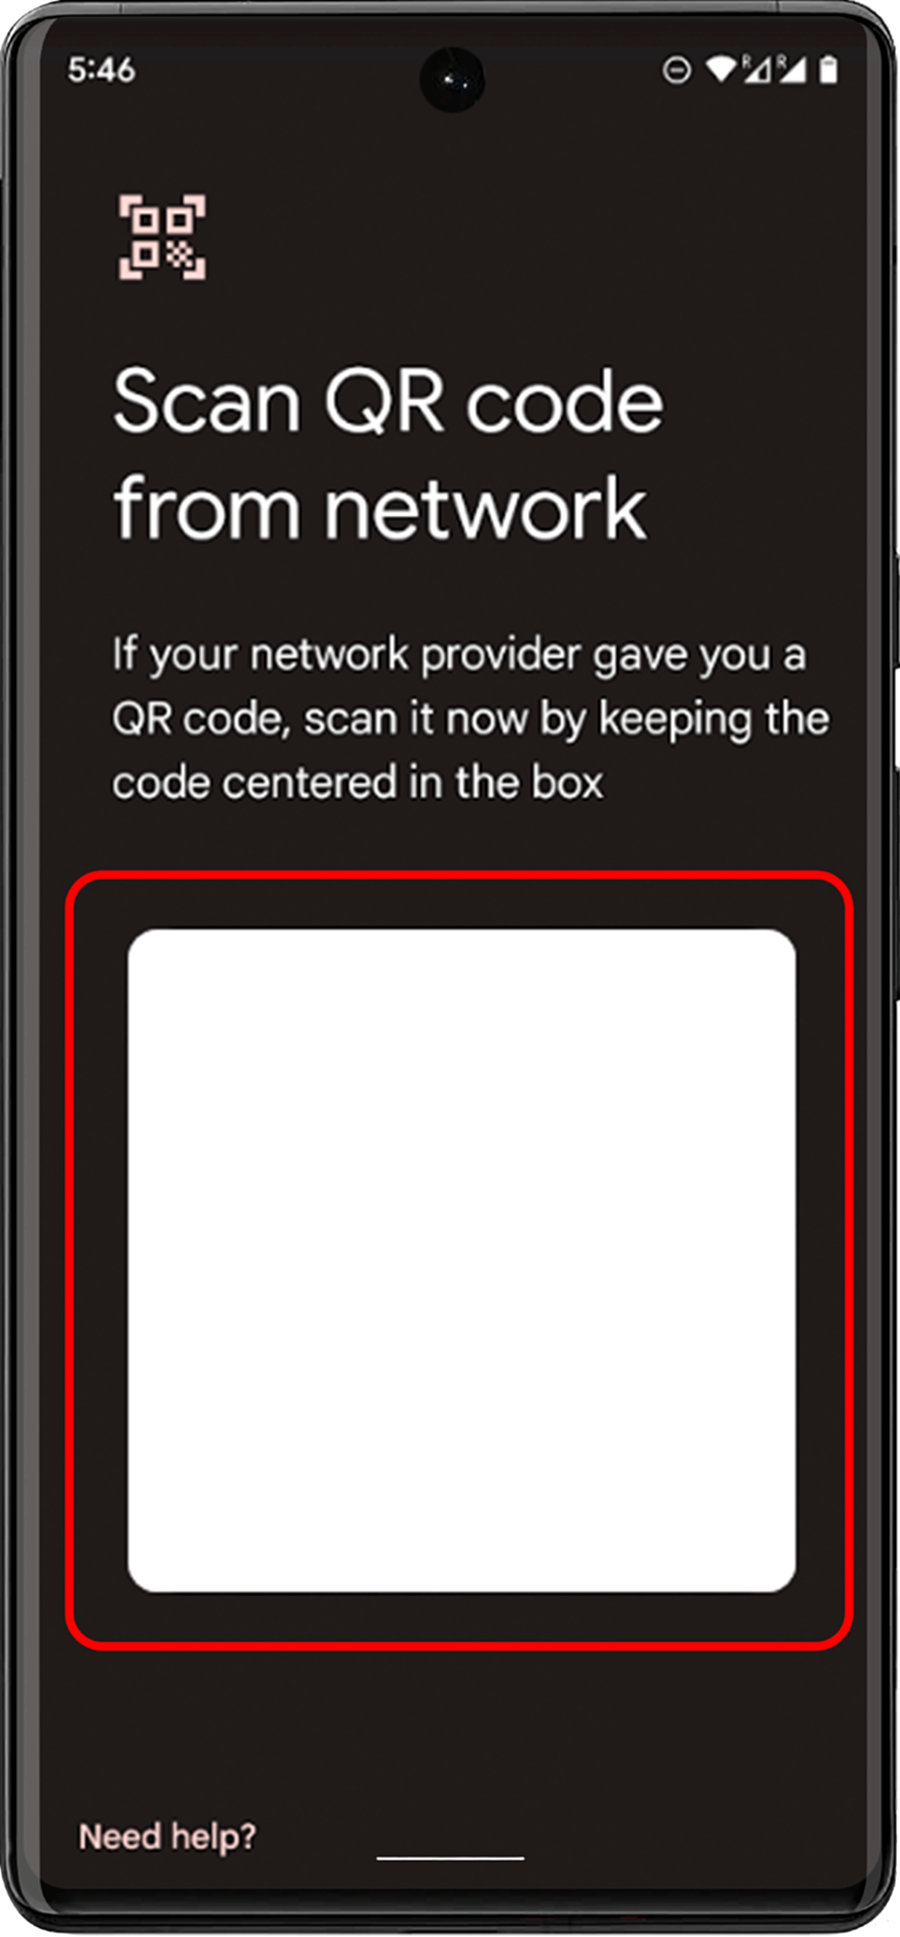
6
Scan the QR code and add a confirmation code when prompted
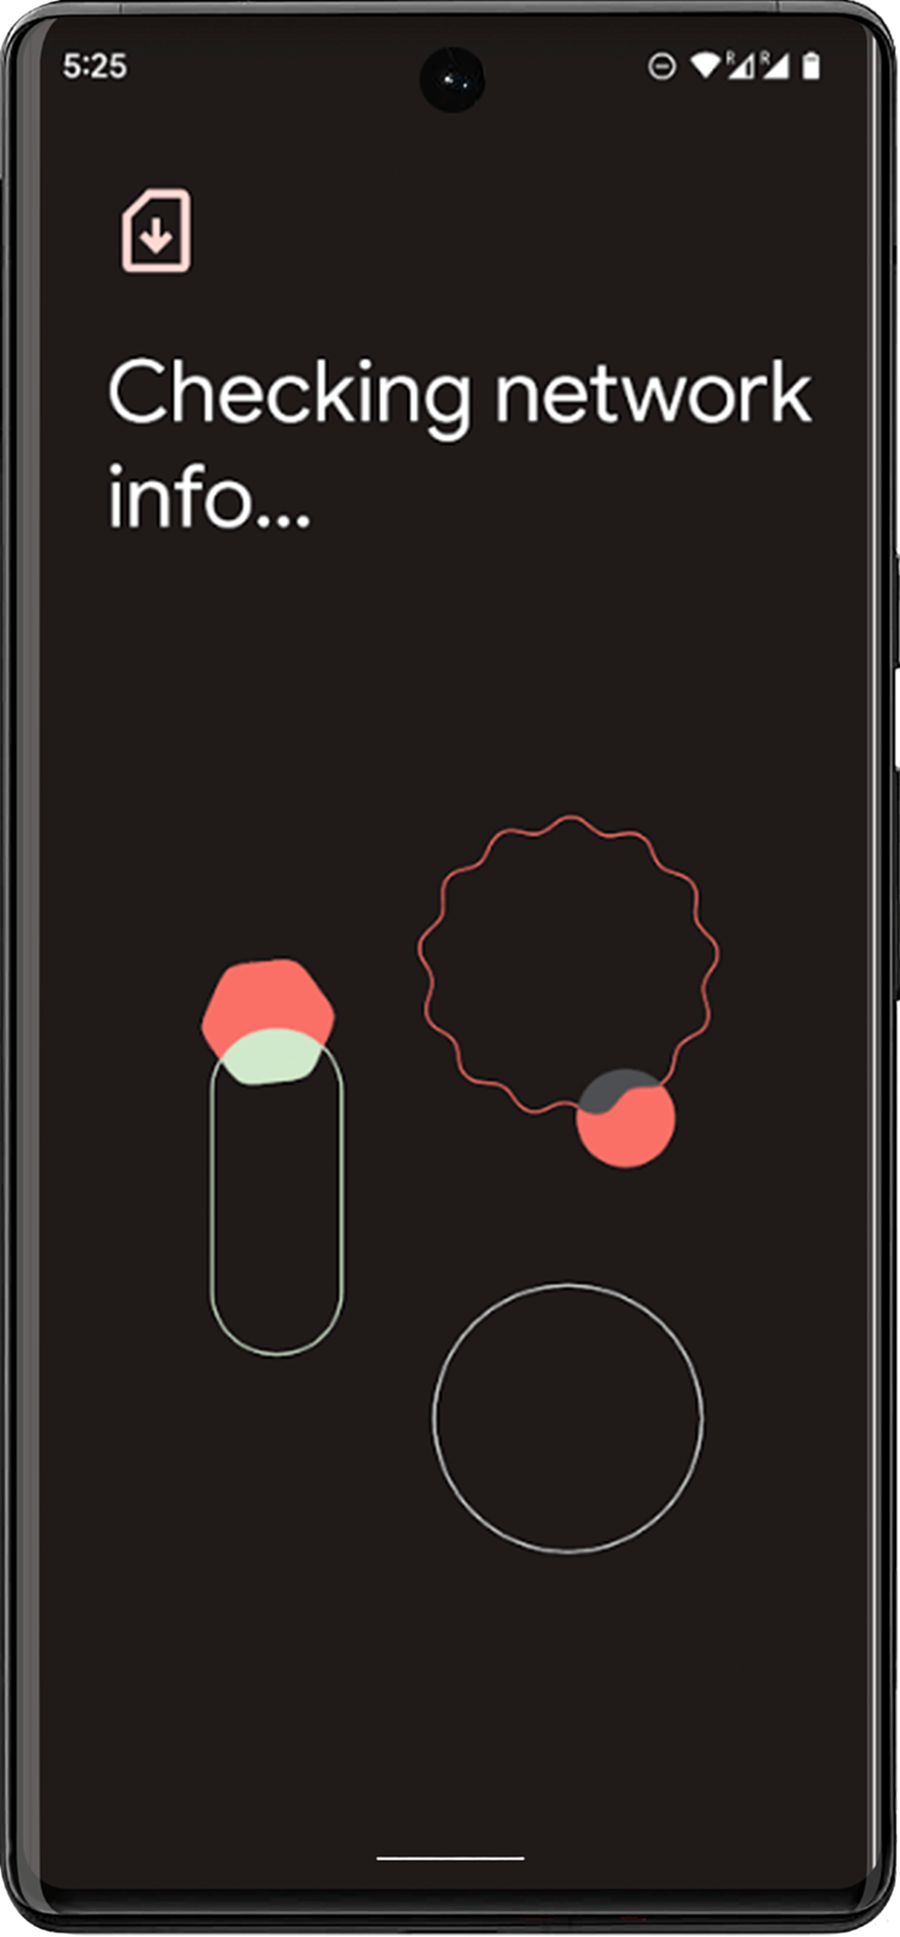
7
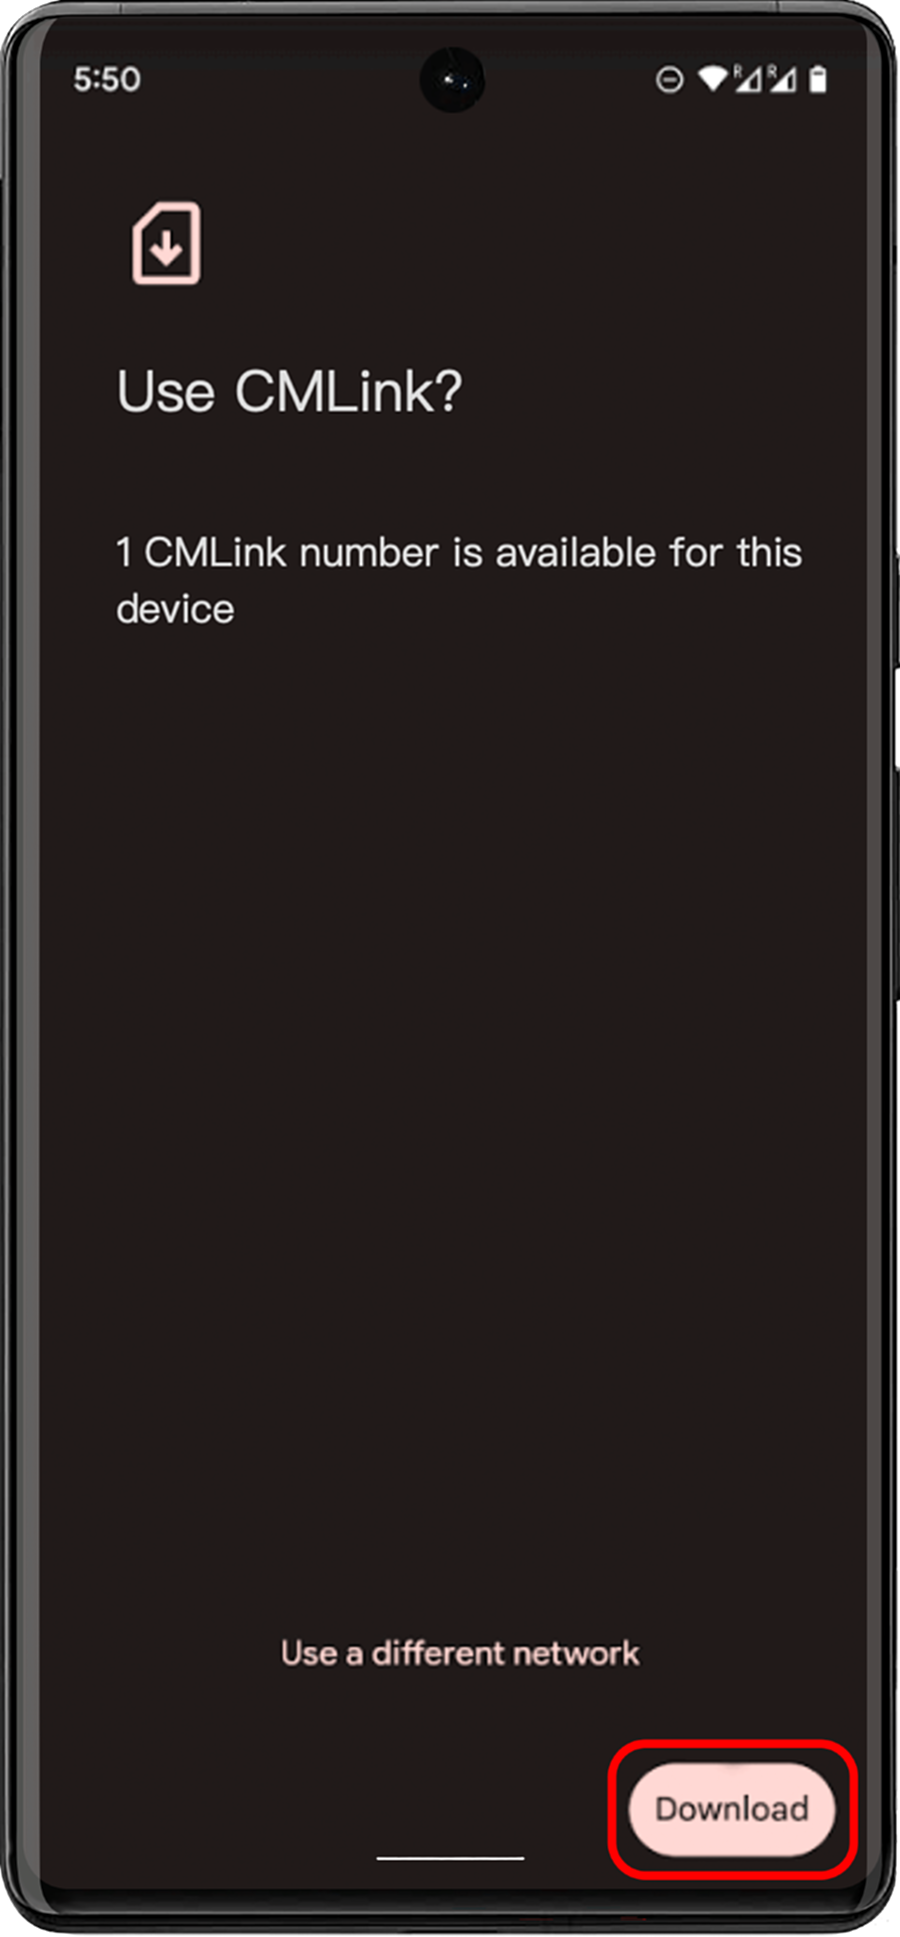
The eSIM installation/Data Access page is displayed.
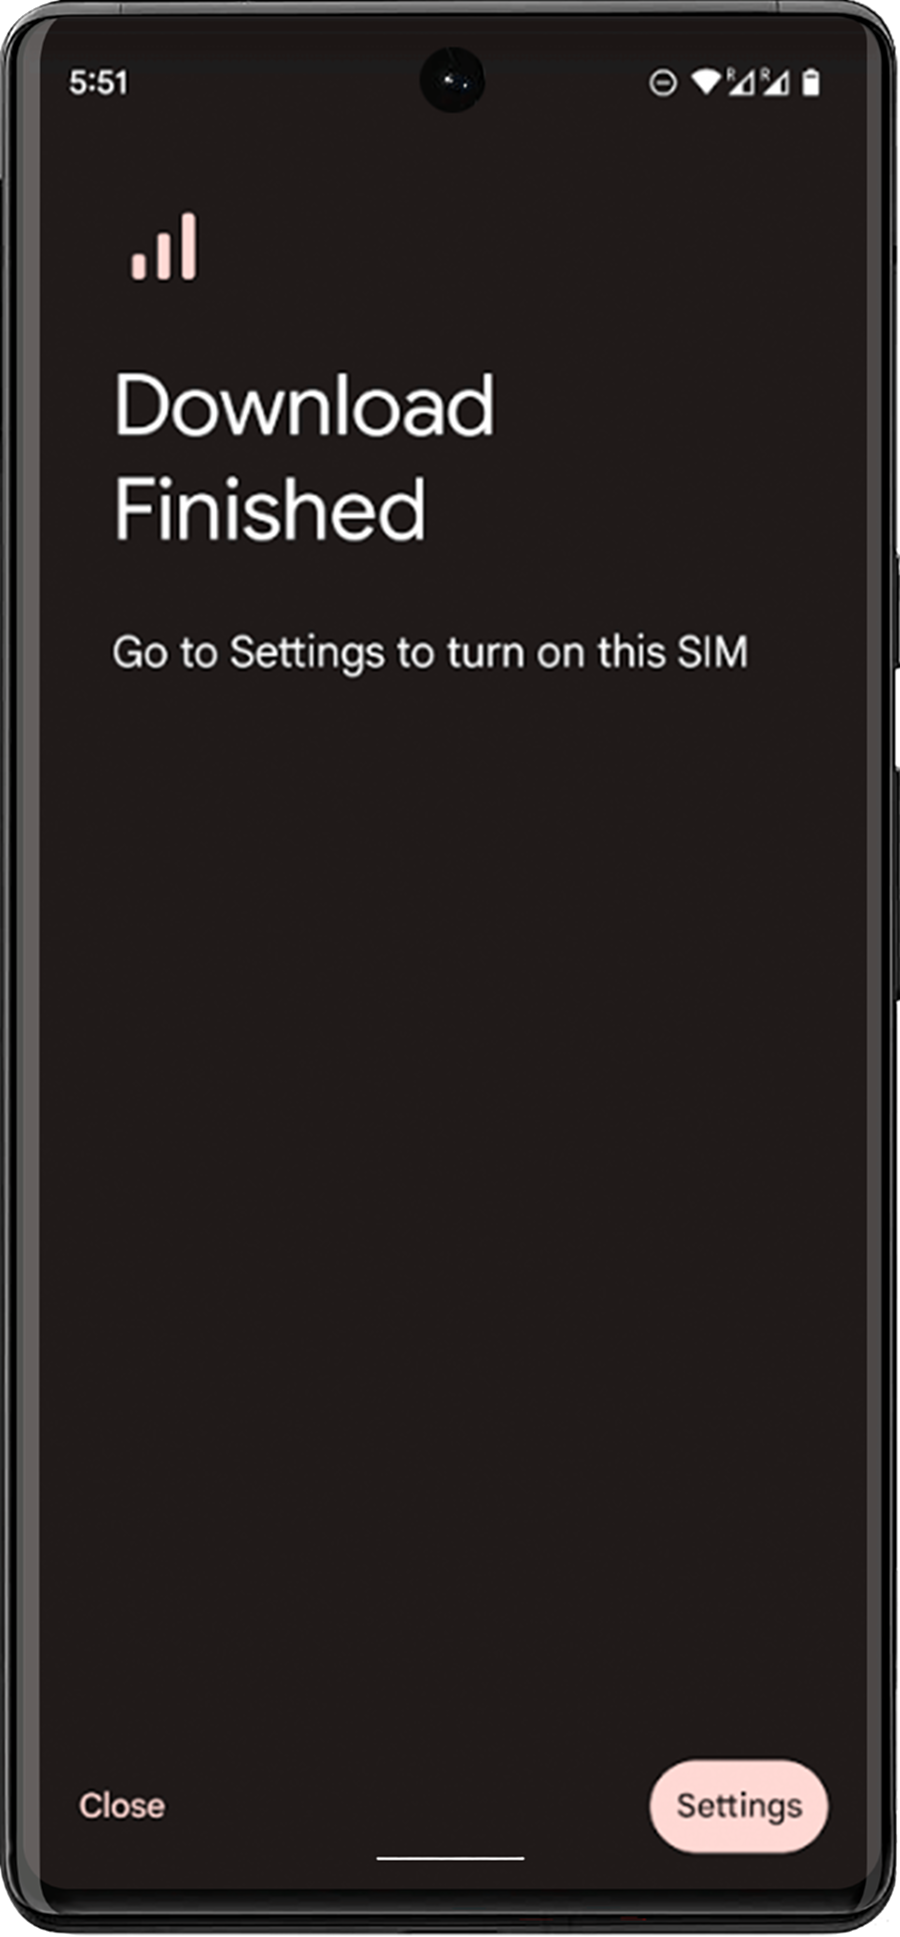
8
Turn on your eSIM under the mobile network and after activating the eSIM, you can view it in the SIM card manager
iOS16 Installation Steps: Note: The installation process cannot be interrupted. Before installing, please ensure your device's internet connection remains stable.
1
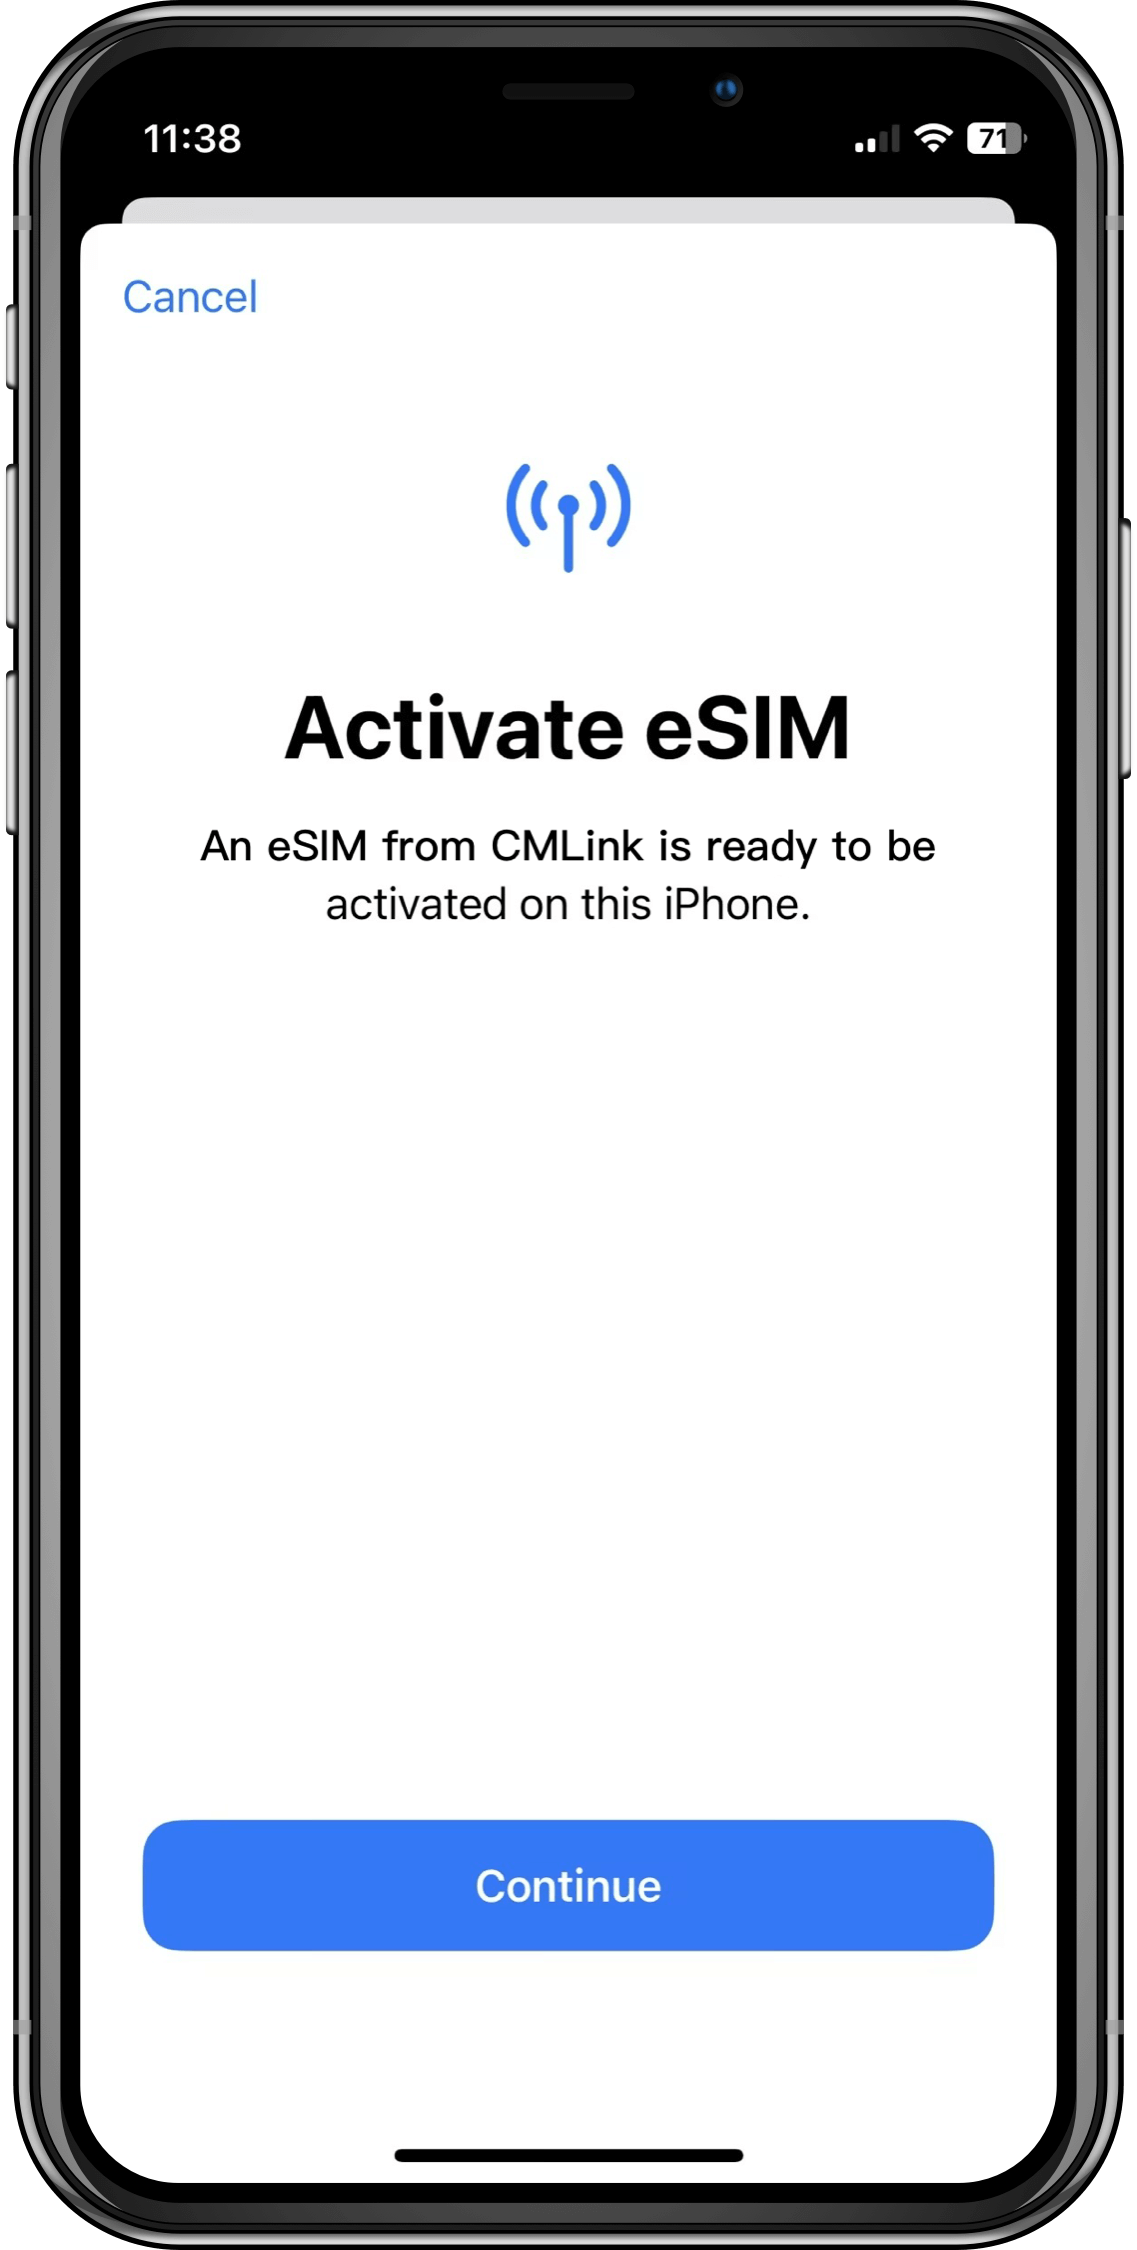
Activate eSIM, click 'Continue' to activate.
2
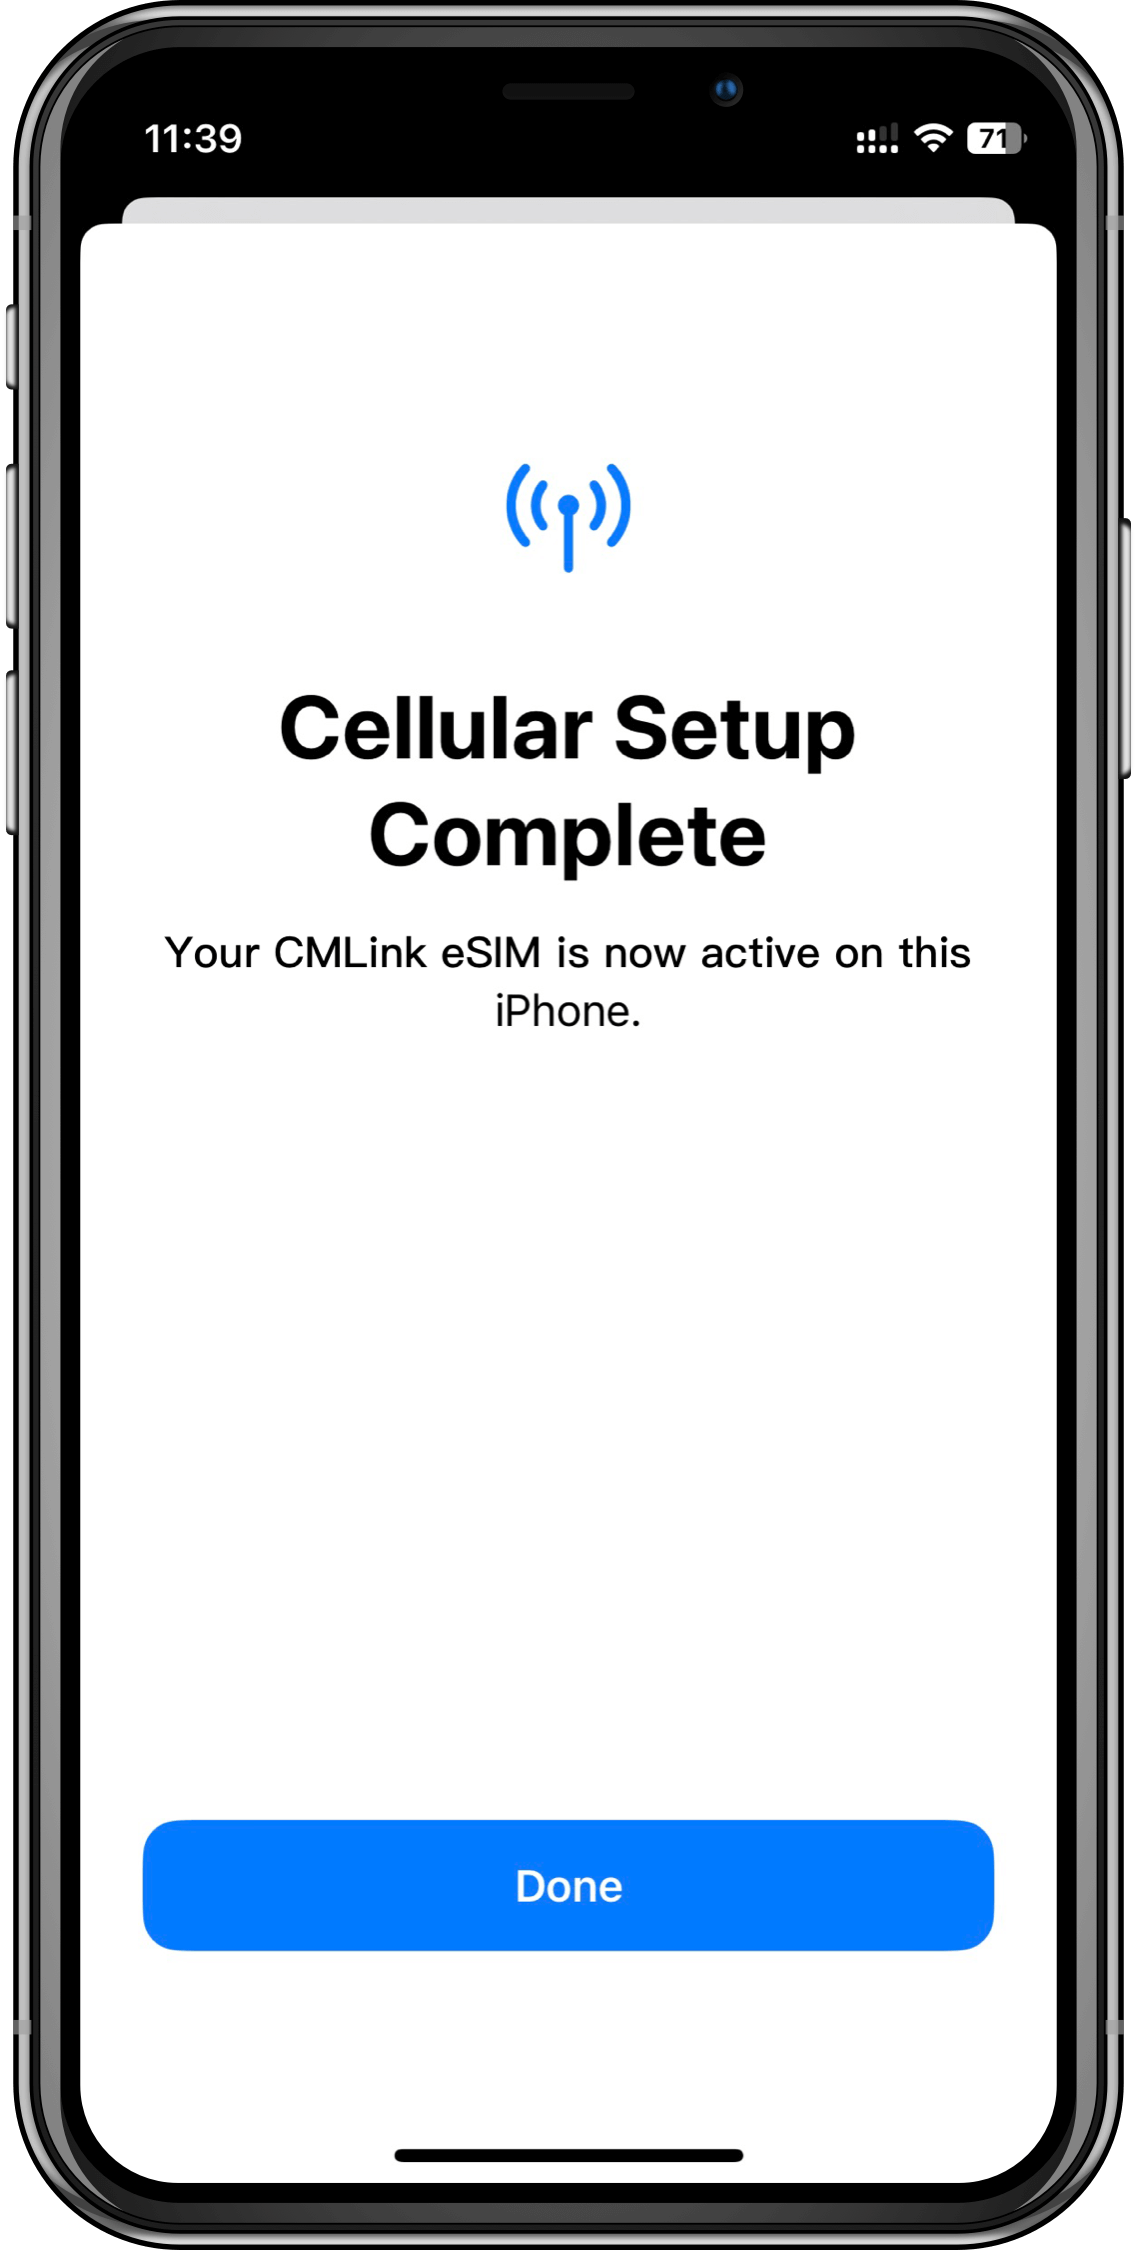
eSIM installation is successful!
1
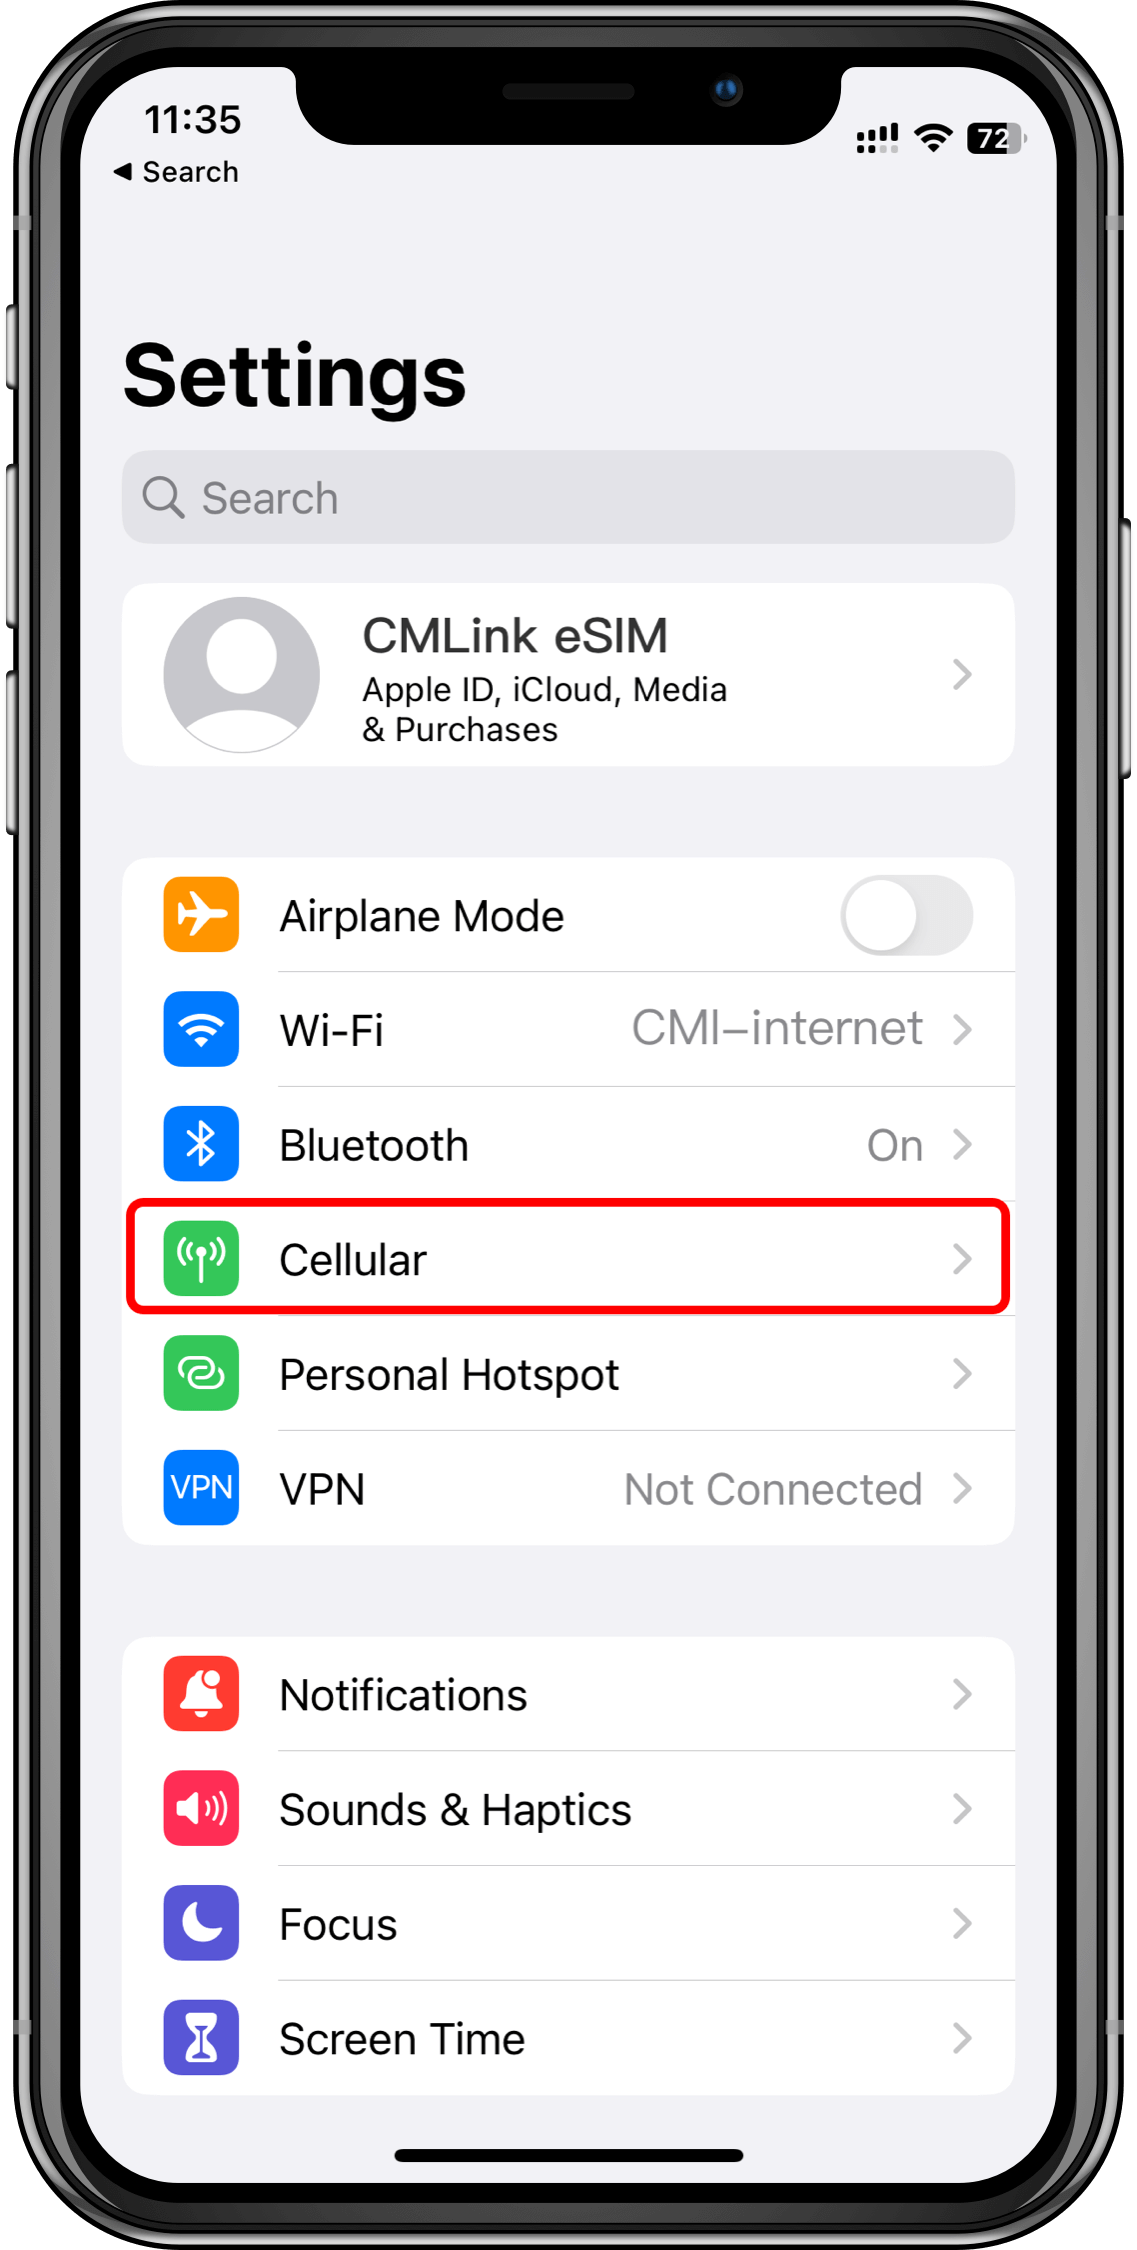
Go to the 'Settings' page and click on' Cellular '.
2
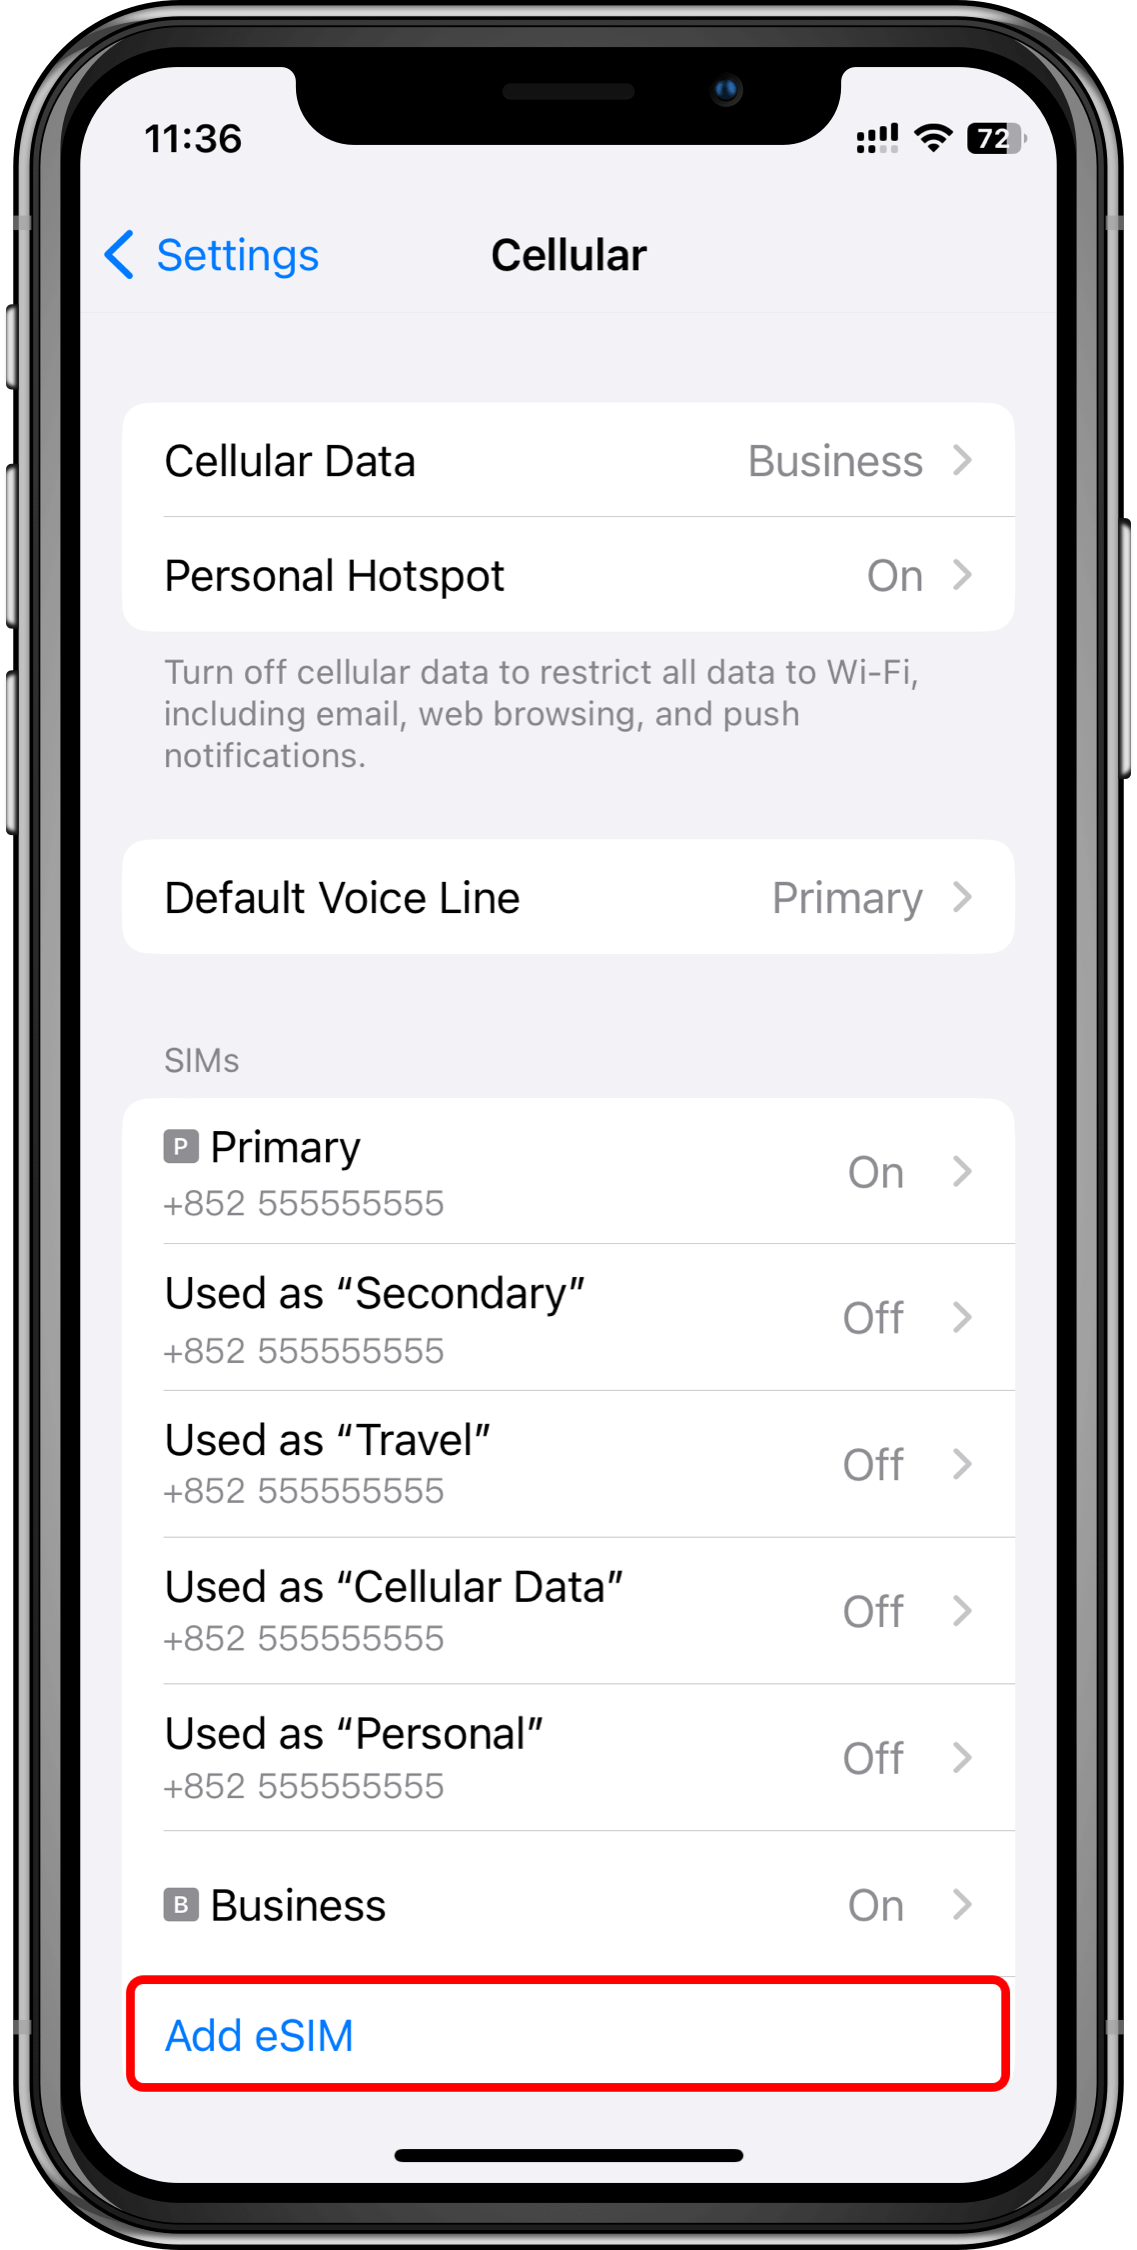
Click 'Add eSIM' or 'Set Cellular Number'.

3
Click 'Use QR Code'.
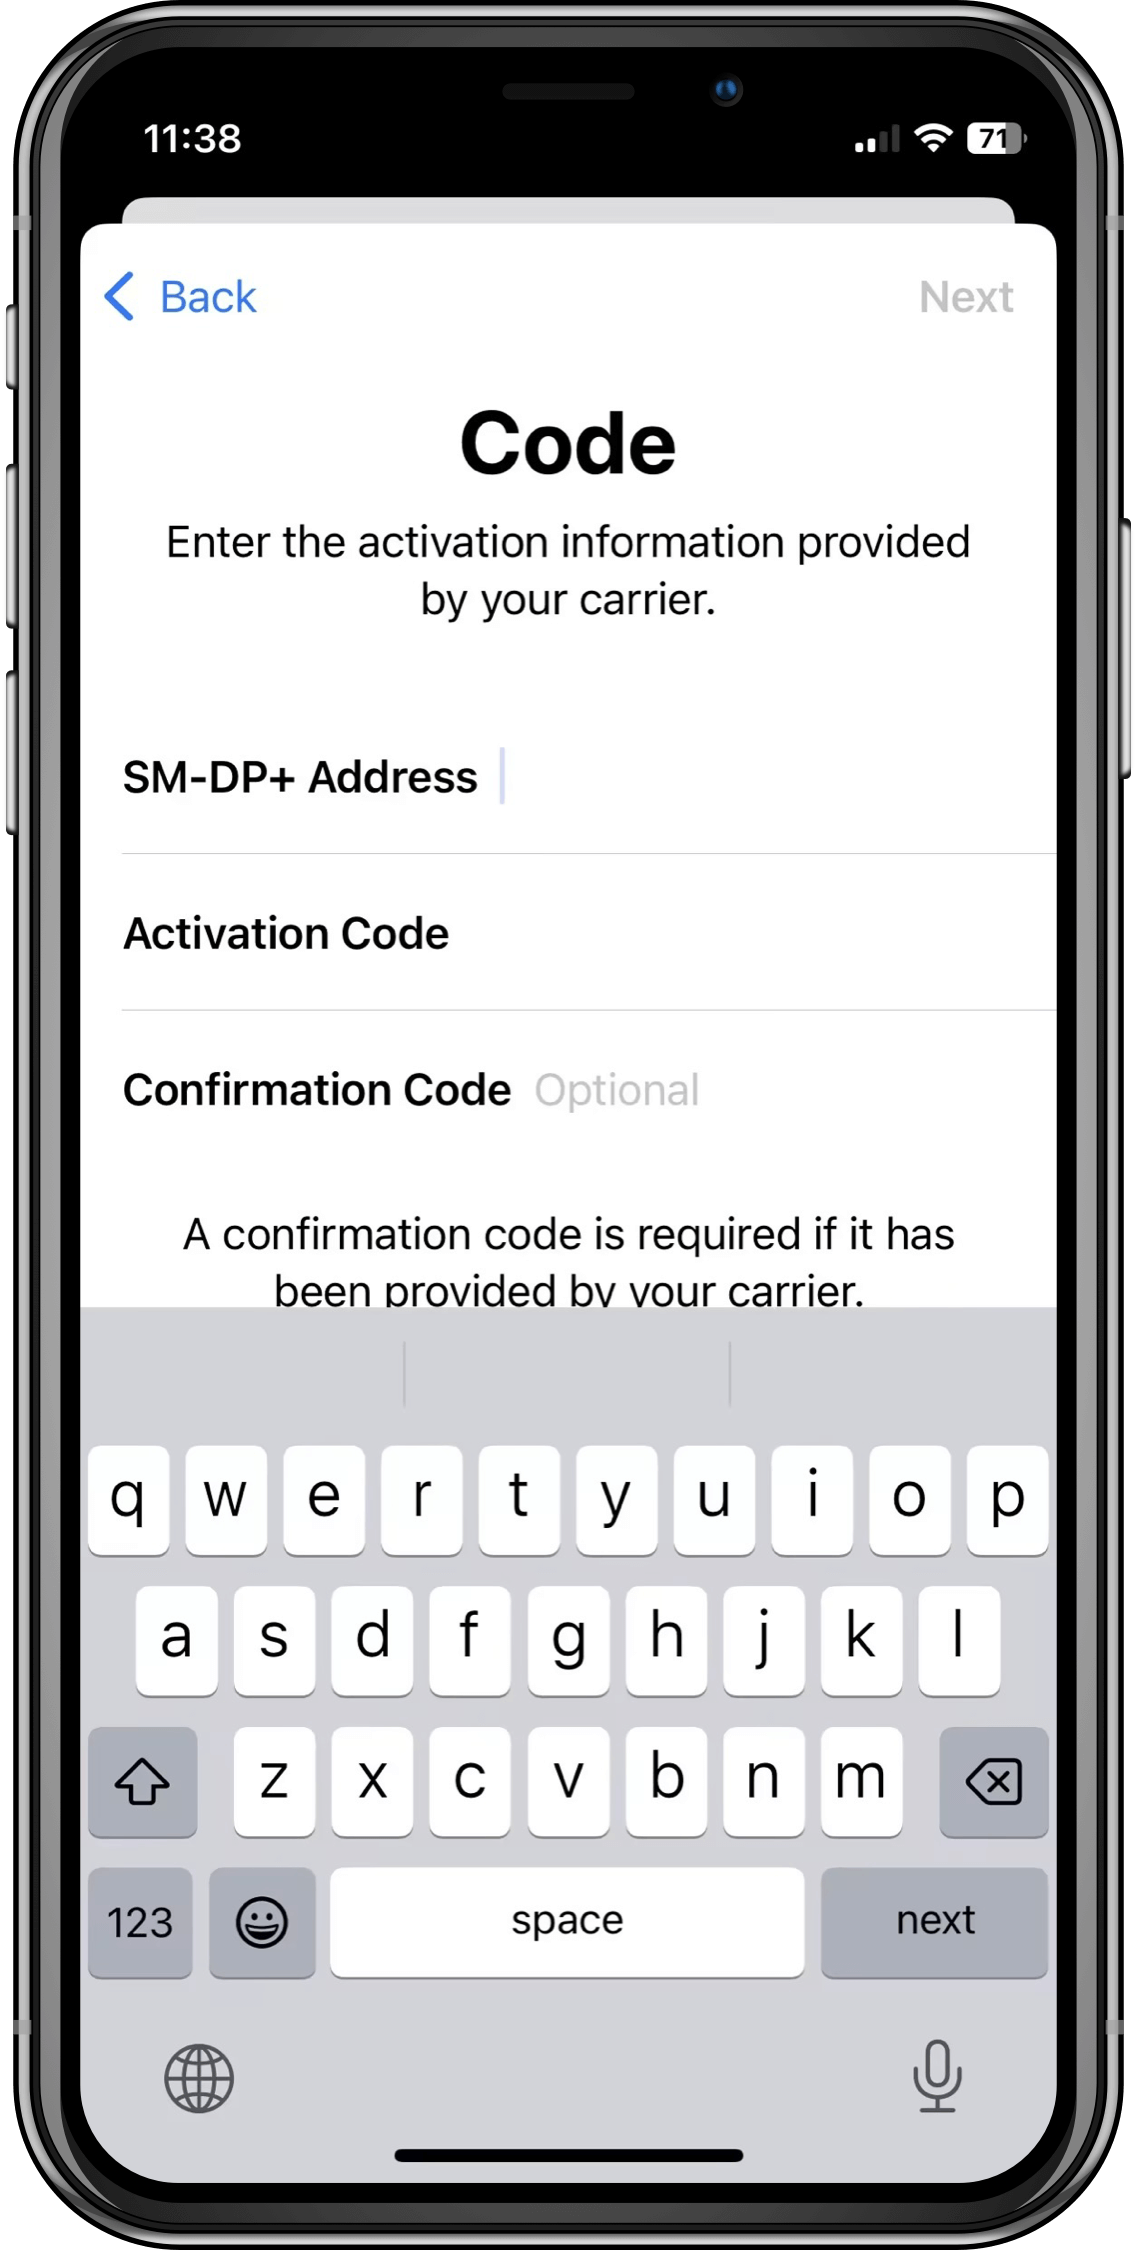
4
Scan the QR code provided on the CMLink eSIM App, tap 'Continue' twice and wait for a moment. Your eSIM will connect to the network, which may take a few minutes, and then tap 'Done'.

5
Activate eSIM, click 'Continue' to activate.

6
eSIM installation is successful!
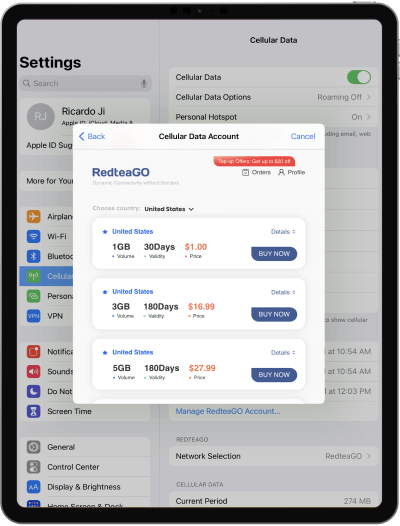
Set up eSIM plan on your Wi-Fi + Cellular model iPad. If you have a Wi-Fi + Cellular model iPad, you can set up a cellular data plan using an eSIM on your iPad.
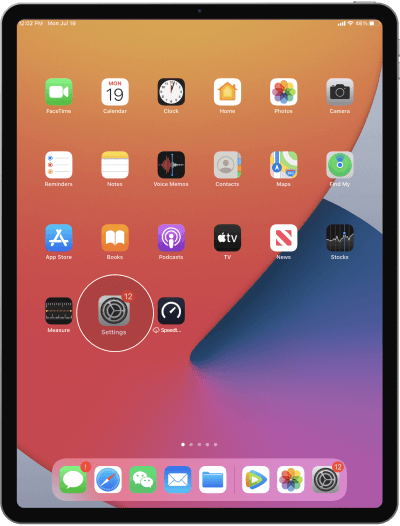
1
Open the Settings app on iPad
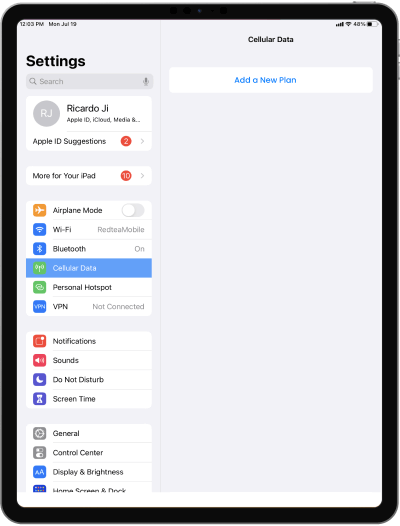
2
Under Cellular Data, click"Add a New Plan"
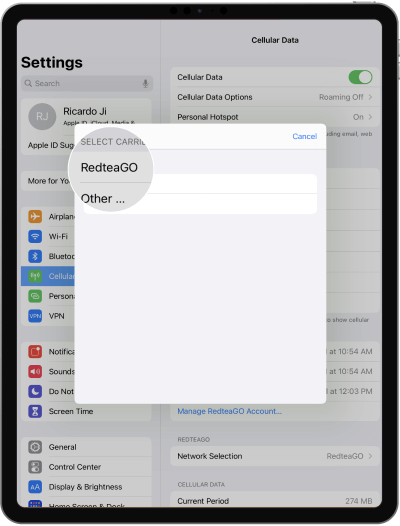
3
Select to see our eSIM Plan
4
Select Area and Purchase a Plan with email